
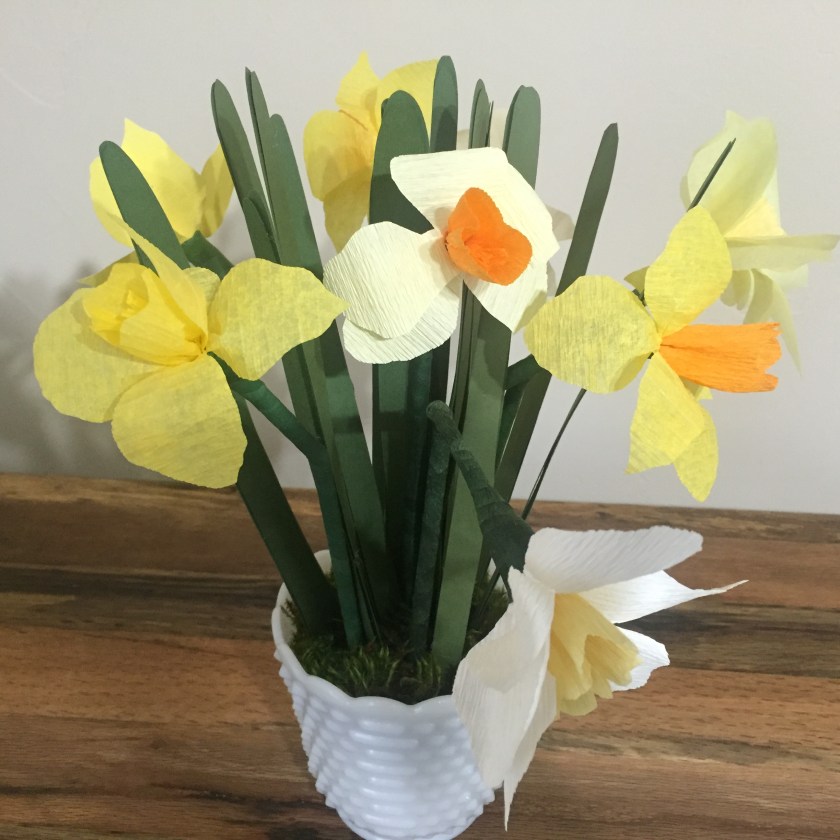
Welcome back, paper artists…..to part 2 of Paper Daffodils! Easter Sunday is coming up fast. Do you need decorating ideas? If so, you’re in luck because today we learn how to make a small daffodil centerpiece……or large one if you’re feeling really ambitious. It’s a pretty simple process once you have your flowers all made and really makes the flowers look real.
Supplies needed:
- a bowl or short vase, preferably opaque, to hide the floral foam we will be using. One with a wider opening will be best for this project. I am using a vase that is 5 inches in diameter and almost 5 inches tall.
- paper daffodils. My previous post has all you need to know to create these. You’ll need probably 5 or more depending on how large your container is.
- floral foam to fit in the bottom of your container….found in the floral department of Hobby Lobby. If it is too tall like mine is, you can cut it with a hacksaw to fit.
- floral wire
- wire cutters
- glue, either a hot glue gun or craft glue
- green cardstock
- dried moss….once again found in the floral section of Hobby Lobby.
- *side note*–I did not use anything this time to adhese my floral foam to the container. I just tried to balance the flowers and leaves well on the foam and stuffed in enough moss to keep it from slipping to one side. In retrospect, it would have probably been easier to build if I had used some adhesive dots, putty or floral clay. If you choose to try this, just make sure that what you use is removeable so that you can reuse your container later.
Steps:
- Let’s make a space for your flowers to sit. Select your bowl or vase. Trim your foam to fit inside. You are going to add a layer of moss, so you want the top of the foam at least 1/2 to 1 inch below the edge of the vase or bowl. Insert the foam into the container. If you bought removeable adhesive, first clean the bottom of the container with alcohol, then place the adhesive, then attach the foam.
- I made quite a few leaves to fit in the spaces between the flowers and make it look they would if they were blooming right there in the bowl. For each leaf you will need to cut 2 leaf patterns. I have added various shaped leaves for your choosing to my previous flower template, available for download below. (If any of you readers have a Cricut or a Silhoutte die cut machine, please email me. I have made myself a nifty SVG file that you can send to your machine to cut, and I will gladly email it to you for your cutting convenience.) Template: Templates, daffodil [23402]
- To form the leave, place a piece of floral wire down the center of one of the leaf sides. You want your wire to stick out of the leaf at the bottom enough to stick into your piece of foam. I placed my wire so that it would stick out about 2 inches out of the leaf and run up about 3/4 the length of the leaf like so: Glue the wire onto the leaf side, then place the matching leaf side on top and press firmly. Since I used a hot glue gun, I placed a dot of glue at the bottom, about every 3 inches, at the top of the wire, then again at the top of the leaf.


- Ok, now the fun begins! Decide how you want your flowers arranged, and begin inserting each flower into the foam. Now fill in the empty spaces in the middle with your leaves.


- Gently pick apart your moss and use it to cover the foam and you’re done! Just in time for an Easter dinner centerpiece.

If you got busy and just made a few flowers, you can always stick them in a bud vase, use them as gift toppers, or tie one to the handle of an Easter basket. 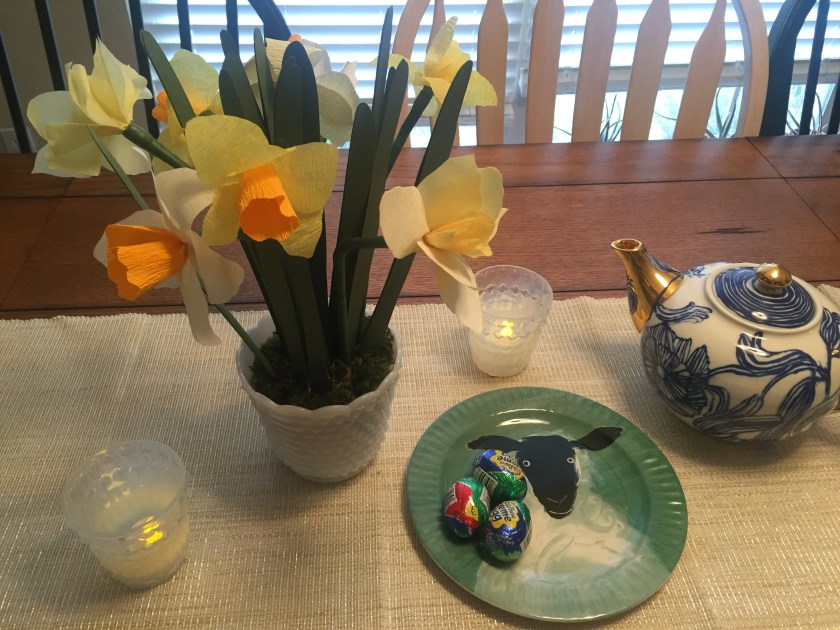
Got more ideas? Share them in the comment section! Until next time, my paper crafting ‘peeps’, have an awesome Easter and see ya soon….this is KristyMichele, signing out.
